Sizing Guide

What Size/Type of Skylight Do I Need?

Selecting the right size, type and positioning for a skylight or roof window involves balancing factors such as the amount of natural light you want to bring in, the room’s size and purpose, energy efficiency, and the architectural design of your home. Here’s a comprehensive guide to help you choose.

1. Choose Skylight Type 

Types of Skylights:

  • Tubular Skylight Kits: These conventional Skylight Kits include a Dome which is installed into the roof, a Flexible Light-Shaft (reflective tube) which channels the light, and a Prismatic Diffuser panel which is installed into the ceiling and emits the light into your room. These do not require a plastered light-shaft to be constructed and provide some flexibility in where the skylight can be positioned. There are size limitations to these kits and these are generally more suited for smaller areas.
  • “SolarLight Kits”: The SolarLight Kit Skylight Alternatives include a dedicated Solar PV panel which is mounted onto the roof, a low voltage DC power cable to transfer the power generated, and an LED light panel which is installed into the ceiling and emits the light into your room. These do NOT provide natural light and may not satisfy building permit requirements; they are ideal for when a traditional skylight is impractical to install.
  • Fixed Roof Windows: These are windows that are specifically designed for installation in a non-vertical plane; they are installed into the roof using a flashing tray. These windows allow light into the room either direct or via a light-shaft. Ideal for providing natural light without ventilation. Size can be adjusted based on the lighting needs and architectural design.
  • Opening Roof Windows: These Roof Windows can be opened to provide controllable ventilation in addition to light. Ensure the size and positioning is adequate for both light and effective ventilation. Since Roof Windows are generally position higher than vertical windows, they provide excellent opportunity for hot air and moisture to escape.


2. Determine the Room’s Lighting Needs

Assess the Amount of Light Required:

  • Purpose of the Room: Consider how natural light will affect the room’s function. For example, a kitchen, living room or home office may require more light compared to a toilet or pantry.
  • Bedrooms: Skylights or roof windows in bedrooms require special mention. These must include a block-out blind. Bedrooms generally require less light, hence smaller skylights would suit.
  • Bathrooms: Bathrooms require proper ventilation, generally in the form of an extraction fan, exhausted out under the eaves or through the roof. Opening roof windows do assist with ventilating bathrooms and ore often left ajar for 15mm (which still keeps rain out). Extraction fans need to be installed in the high point of a room, this could be inside the plastered light-shaft of a roof window.
  • Room Size: Larger rooms or spaces with high ceilings may benefit from a larger skylight area to ensure adequate daylight distribution. Often a combination of multiple smaller skylights or roof windows, properly spaced out, are more effective than 1 larger unit.


General Guidelines for Room-to-Skylight Size Ratio:

  • Natural Daylight Factor: Your local Building Code may require a minimum size of all natural light windows combined for a room as a minimum percentage of its floor area. A common guideline is to aim for a skylight size that provides 5-10% of the room’s floor area in skylight glazing. For example, if the room is 20 m2, a skylight providing 1-2 m2 of glazing could be appropriate.
  • Positioning of a Tubular Skylight: A Tubular Skylight offers some flexibility in the positioning of the Dome and the positioning of the Diffuser. Ideally the Flexible Light-Shaft is kept short and straight, but it can be angled to avoid any trusses or ducting in your roof cavity; in that case the light transmission efficiency will be reduced, and it may be required to select a skylight “one size up” to compensate for this. These kits include a 2-meter Flexishaft, which is generally long enough to span the distance from the roof to the ceiling; excess length needs to be cut off. Longer, 3-meter, shafts are available if required but these also reduce the light transmission efficiency.
    The Dome can be place facing North-East to catch the morning sun, or North-West to catch the afternoon sun. The diffuser can be positioned so to avoid any rafters or other ducting, it can be centred to a hallway or toilet ceiling, or it can be placed directly above a workspace such as a kitchen bench or desk.
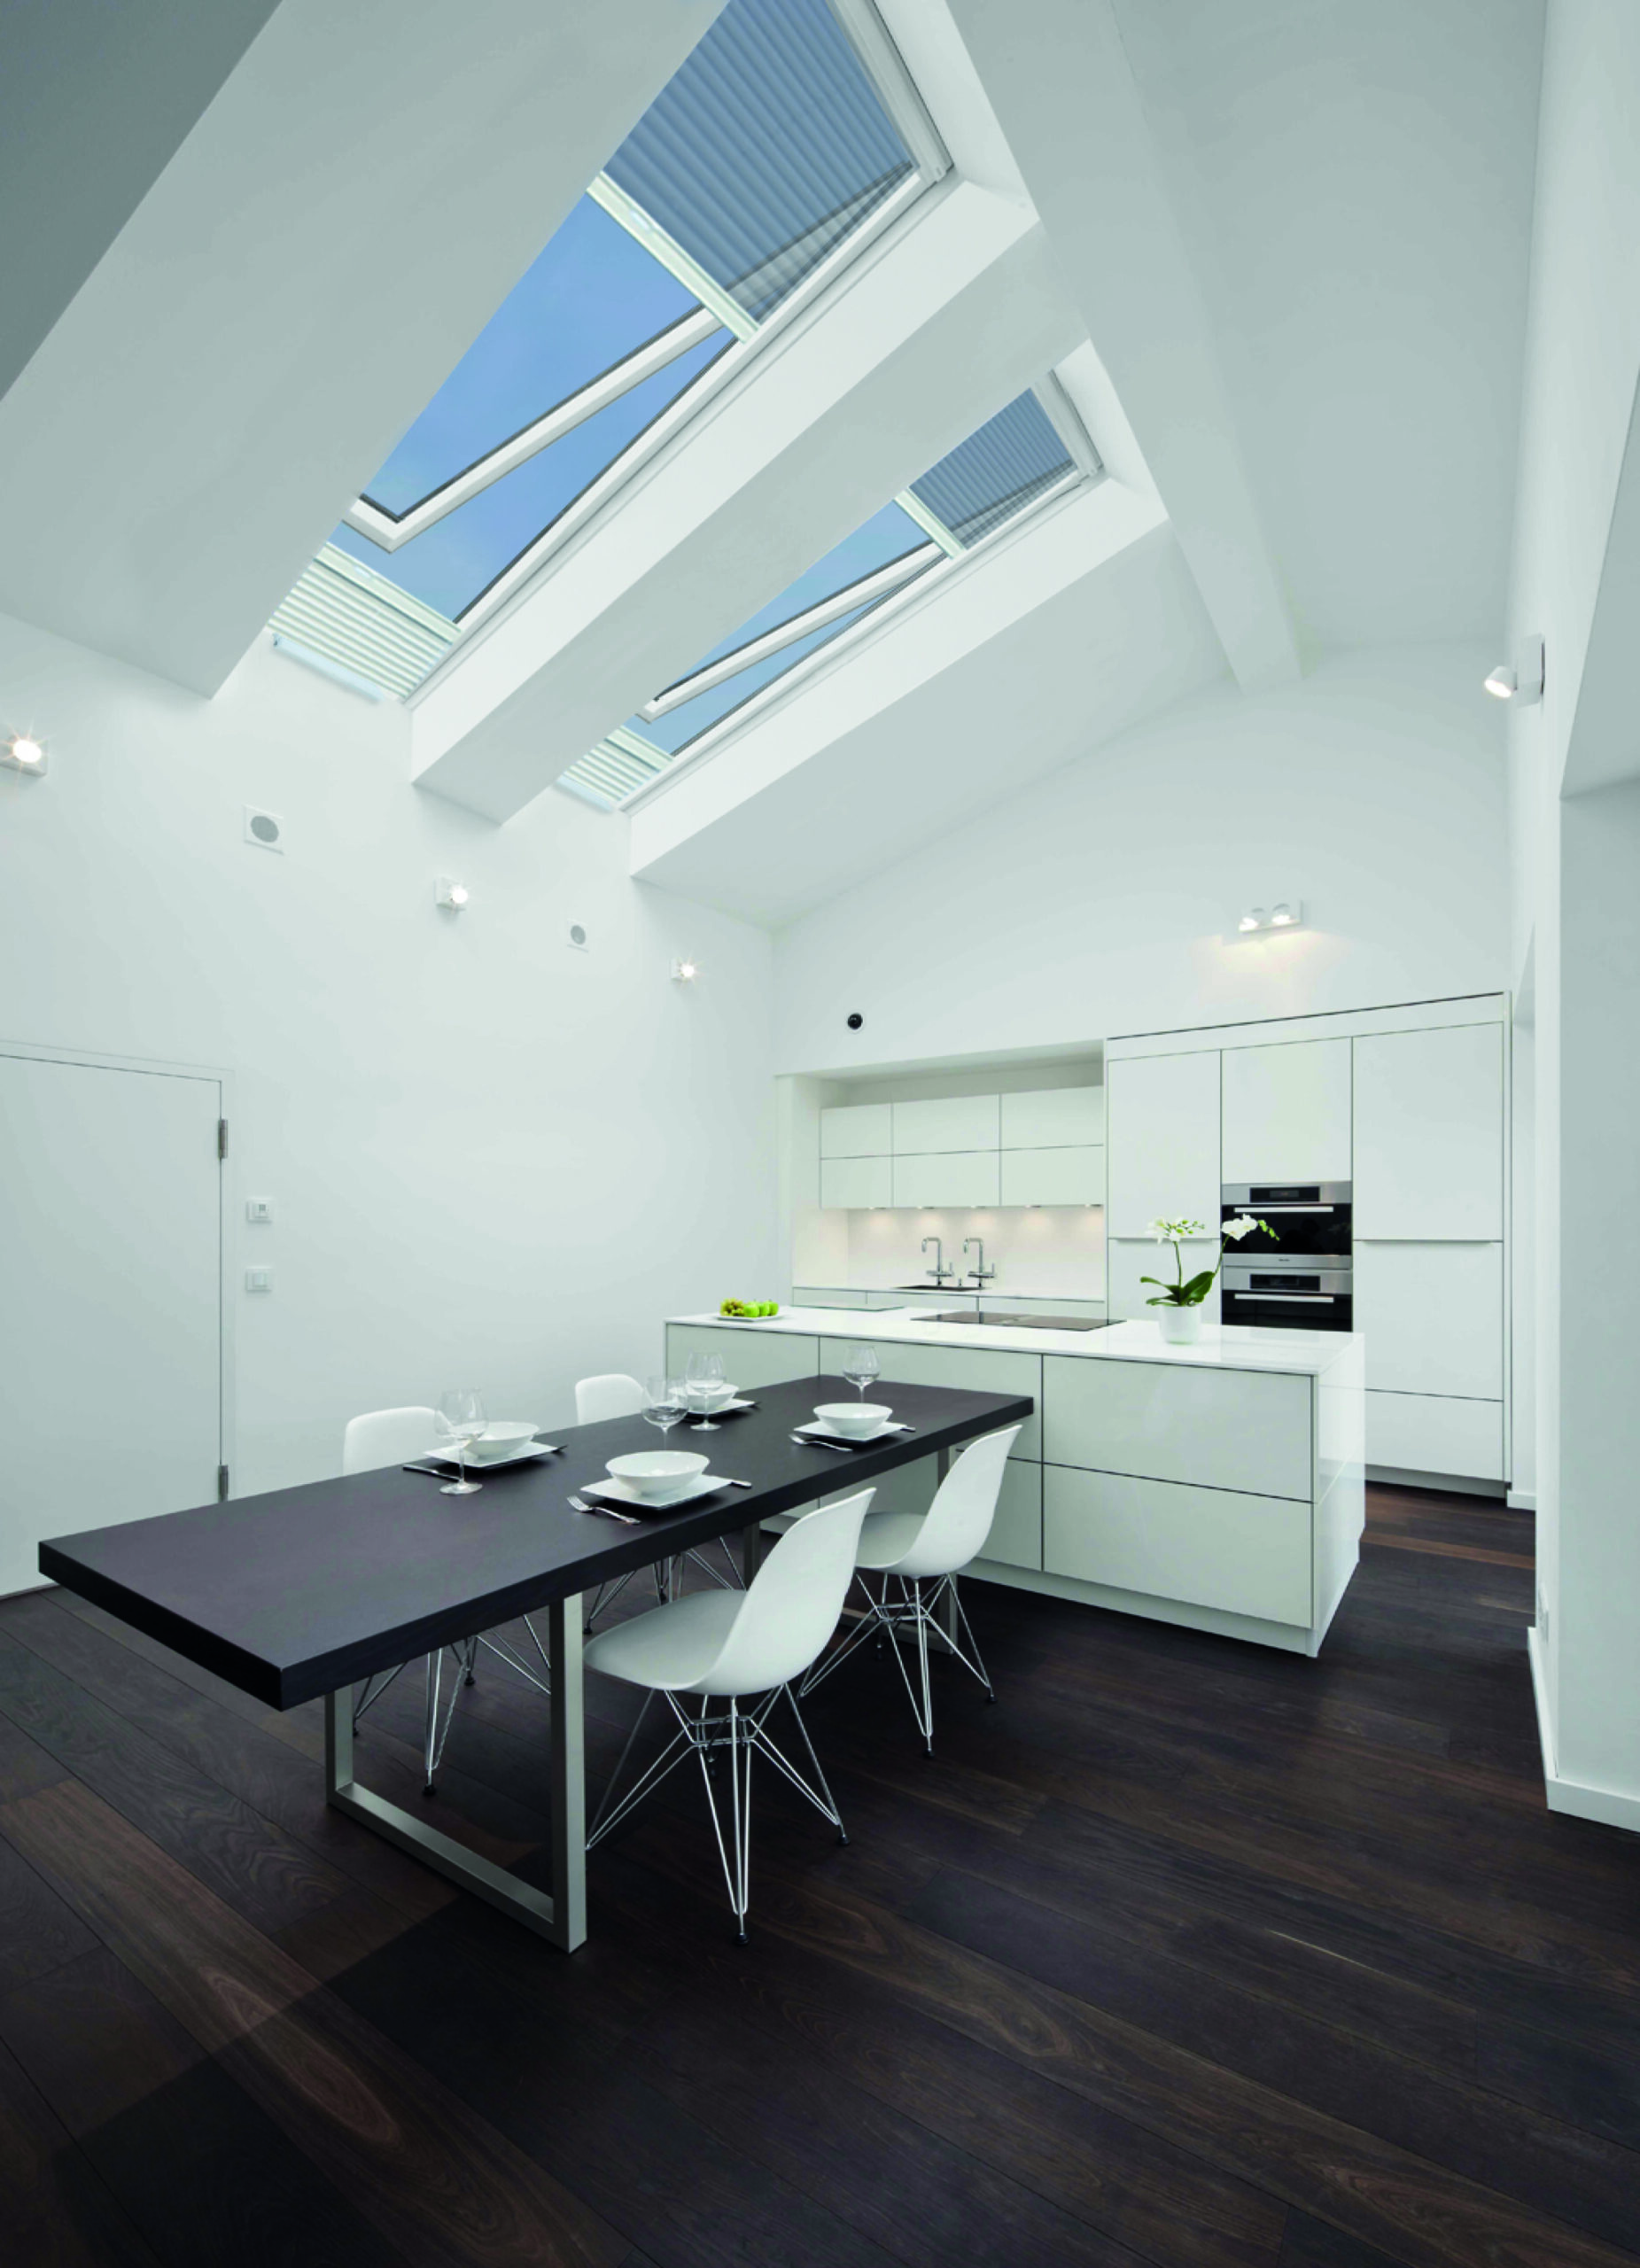
  • Positioning of a Roof Window: A roof window allows daylight to shine down directly from the window into the room. In a room with “Cathedral ceiling” or “Exposed Rafters” only a short section of lining covers the distance from the roof to the ceiling. Most Australian roofs have a roof cavity and would a light shaft to be constructed and lined (generally with painted plasterboard). Based on your ceiling, consider where the light will fall into your room and how it will reflect of any opposing walls.
    The window is generally placed in the upper half of the roof. If a light-shaft is to be constructed, the top is generally at 90 degrees with the roof pitch, while the bottom would be at 90 degrees with the ceiling; this provides for a wider spread of light into the room.


3. Consider Energy Efficiency and Heat Gain

Balance Light and Heat:

  • Glazing Options: Choose energy-efficient glazing options to minimize heat gain or loss. Low-E (low-emissivity) glass reflects the UV-rays in the sunlight and thus reduce the heat gain, keeping the room cooler in summer. Double glazing provides good insulation and assists in maintaining indoor temperature and reduce energy costs.
  • Size and Heat Control: Larger skylights may increase heat gain in summer and heat loss in winter. Consider adding shading devices, blinds, or low-emissivity coatings or tints to manage this.
  • Condensation: Moisture in the air will condensate onto cold surfaces when the temperature drops below the dew point. Using double glazing significantly reduces condensation onto the glass.


4. Assess Roof and Structural Considerations

Evaluate Roof Structure:

  • Roof Type: Skylights and roof windows can be installed to most roof types; the roof type must be specified when ordering, as this may require different flashings. Installation on common roof types such as Tile and Corrugated Iron (CGI) are suitable for DIY and Handyman. Installation onto low-pitch roof such as Deck or Concrete/Membrane generally require a Roof Plumber.
  • Structural Integrity: Preferably, skylights and roof windows are installed between any roof trusses, without altering the structural elements. In Australia, roof trusses are generally centred at a 600mm frequency; in older buildings 900mm is common. Larger skylights may require additional structural support. Consult with a suitable contractor to ensure proper installation.
  • Roof Pitch: The angle of the roof affects how much light enters through the skylight. Ensure that the size and placement complement the roof pitch and structural elements.


5. Interior and Exterior Design Integration

Ensure Design Harmony:

  • Architectural Style: The size and placement of the skylight should match the overall architectural style of your home. Consider how the skylight integrates with both the interior and exterior design.
  • Privacy: When designing roof windows into bedrooms or bathrooms, one needs to consider privacy and whether any surrounding buildings may have a direct visual line onto the window. Frosted glass is often used if privacy is a concern.
  • Aesthetic Considerations: Ensure that the skylight size complements the room’s design and does not dominate or overwhelm the space.


6. Where to Locate a Roof Window

General Placement Guidelines:

  • Living Rooms and Kitchens: Place roof windows above areas where natural light is most beneficial. Ensure the window size and placement provide adequate light without causing glare.
  • Workspaces: For home offices or study areas, position windows to enhance productivity and reduce eye strain.
  • Interior Rooms: In buildings where interior rooms lack exterior walls or windows, placing a roof window centrally can provide much-needed daylight.
  • Maximize Sunlight: In Australia, North-facing roof windows receive the most sunlight throughout the day. They can help with passive solar heating, particularly in winter months.
  • Overhangs and Roof Features: Position roof windows to avoid shadowing from overhangs, chimneys, or other roof structures.


Structural Considerations:

  • Support Beams and Rafters: Ensure the placement of the roof window does not interfere with load-bearing beams or rafters. Structural modifications may be necessary.
  • Waterproofing and Insulation: Ensure that the installation includes adequate flashing and insulation to prevent leaks and thermal loss. Consult with a professional to ensure proper installation.


Aesthetic and Design Integration:

  • Architectural Harmony: Ensure that the roof window design complements the building’s architectural style and materials. Consider factors such as window framing, glazing, and exterior aesthetics.
  • Interior Design: Integrate the roof window with the interior layout, ensuring it enhances the room’s natural light and contributes positively to the space’s ambiance.


Regulatory and Code Requirements:

  • Permits and Compliance:
    Ensure that the installation complies with local building codes and regulations regarding window size, placement, and safety standards.
  • Ventilation Requirements:
    Verify that the window meets any requirements for ventilation, especially if it is intended to provide fresh air to enclosed spaces.


SEND US A MESSAGE